Installing Postgresql and pgAdmin
The default database for Heroku is PostgreSQL and, while you could use SQLite for development and Postgres for production, there are some inconsistencies between the two. Ideally you would use the same version of the database server but currently Heroku uses version 9 for dedicated databases and 8.3 for shared databases and seem to recommend you install the latest version for development.
Install Postgres with Homebrew with brew install postgresql and follow the instructions after the install to initialise a database.
initdb /usr/local/var/postgres
The database server can be set to start at login with
mkdir -p ~/Library/LaunchAgents
cp /usr/local/Cellar/postgresql/9.1.1/org.postgresql.postgres.plist ~/Library/LaunchAgents/
launchctl load -w ~/Library/LaunchAgents/org.postgresql.postgres.plist
But I prefer to add aliases to .bashrc to start and stop the server:
alias pgs='pg_ctl -D /usr/local/var/postgres -l /usr/local/var/postgres/server.log start'
alias pgq='pg_ctl -D /usr/local/var/postgres stop -s -m fast'
Postgres can be managed with the command line utility psql but, as much as I like the command line, I don't really want to have to write SQL to edit or remove a user role. PgAdmin is a free GUI for Postgres management. Once installed, ensure the Postgres server is running then run pgAdmin and connect to the server.
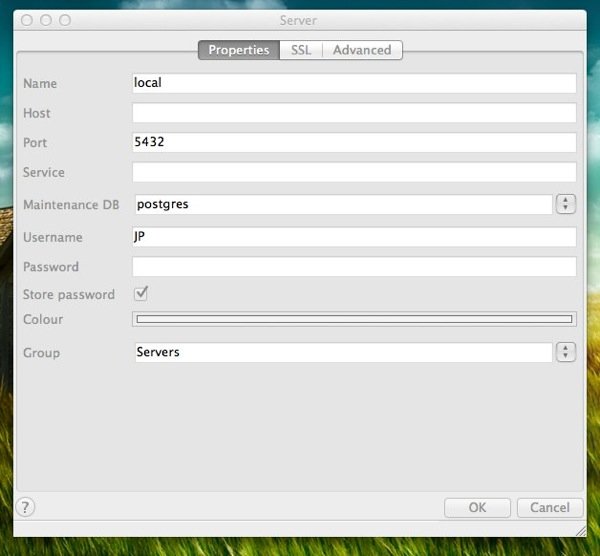
In the server properties add a name for the connection and add your login as the username.

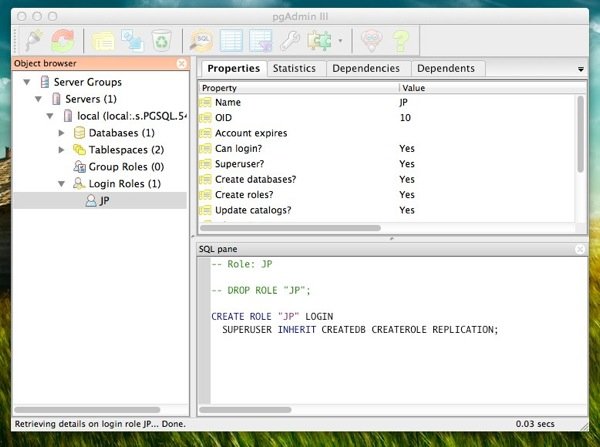
pgAdmin provides the management tools you would expect.
